Cisco Spark SSO With Azure Active Directory
Integrating Cisco Spark with your Microsoft Azure Active Directory for Single Sign-On (SSO) enables users to enjoy the benefit of authenticating with Spark using their Active Directory credentials, and bypassing the password login altogether if they are already authenticated in the browser to the Office 365 cloud.
In this article, I describe the process of configuring Cisco Spark with the Microsoft Azure AD for SSO with screenshots for context throughout. I’ve assumed you have an existing Cisco Spark and Microsoft Azure AD available and the required permissions to follow the steps that follow.
References documentation used:
- Cisco Spark Single Sign-On with Microsoft Azure
- Tutorial: Azure Active Directory integration with Cisco Spark
Configuration Process
Log into the Cisco Spark Control Hub

Click Settings, locate the Authentication section. Click Modify

Select Integrate a 3rd-party identity provider. (Advanced)

Click Download Metadata File. Save the file to disk.

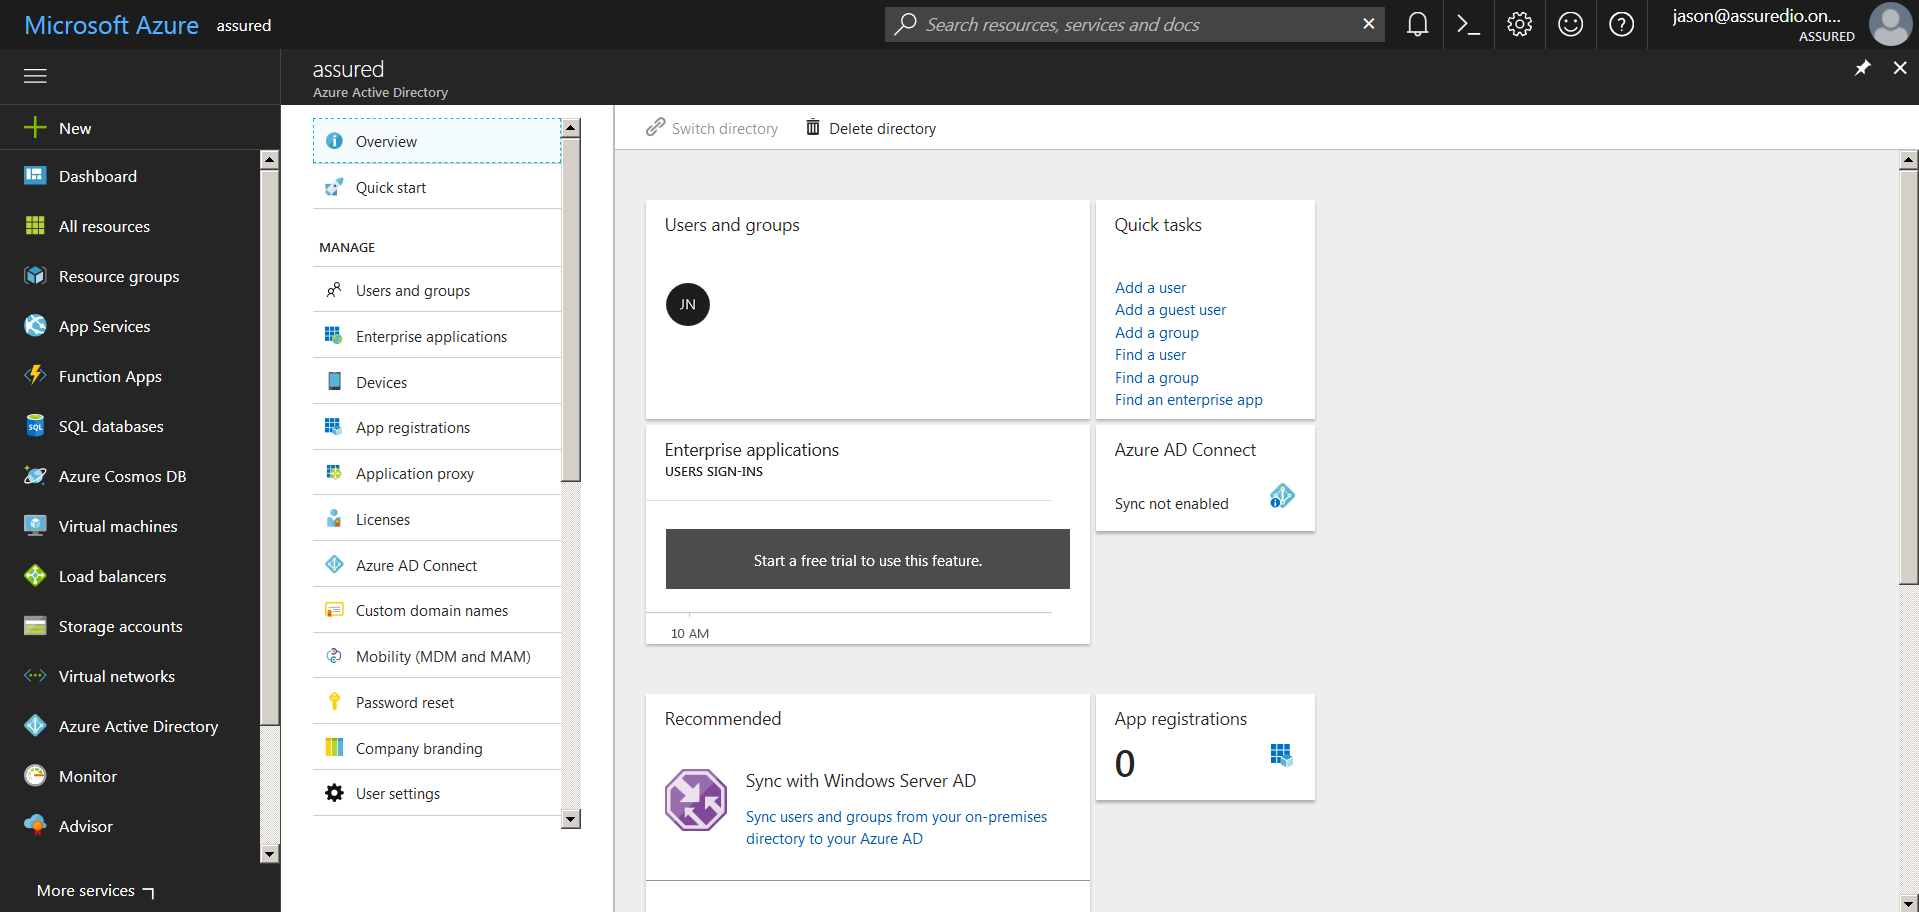
Log into Microsoft Azure

Click Azure Active Directory from the navigation menu. Click Enterprise Applications
Click All applications

Search for Cisco Spark. Click the returned Cisco Spark search result.

Click Add

Click Users and groups.

Click Add user

Click None Selected

Search for and select the user to enable Cisco Spark SSO for.

Click Assign

Confirm the user is shown in the Users and groups screen

Navigate back to Cisco Spark - Quick start and select Configure single sign-on (required)

Open the Metadata file saved earlier from Cisco Spark.
- Copy the Location URL from the AssertionConsumerService tag into the Sign-on URL field and the Reply-URL field
- Copy the entityID URL from the EntityDescriptor tag into the Identifier field


Check View and edit all other user attributes. Click Add attribute

Enter
- Name - uid
- Value - user.mail
Note, it is perfectly valid to use an alternative to user.mail such as user.userprinciplename, such that users log in with the user name instead of email address, for example jason@assuredio.onmicrosoft.com. In doing so you must add the user to Cisco Spark via the Cisco Spark Control Panel, before they sign in for the first time.
Click Ok

Delete all attributes except name and uid. Click Metadata XML and save the file to disk. Click Save

Return to the Spark SSO configuration process. Check Require certificate signed by a certificate authority in Metadata (more secure). Upload the Metadata XML file downloaded from Microsoft Azure

Click Next

Click Test SSO Connection

If you were signed into Office 365 with the user assigned earlier, you will enter your username and be authenticated automatically.

Return to the Cisco Spark SSO configuration process. Select The test was successful. Enable Single Sign On

The Cisco Spark Control Hub will now show Single Sign-On as enabled.

Notes
- Azure Active Directory Premium is required, and the user account must have the license assigned to them in Office 365. See the screenshots below
- You must create the user in the Cisco Spark Control Hub before they attempt to sign on but after you have successfully configured SSO. If this was not the case you may need to:
- Create an email alias for the user
- Have the user navigate to https://idbroker.webex.com/idb/profile#/ and log in with their email address
- Change their email address to the alias created earlier
- Confirm the change in the Spark email confirmation to the email alias
- At this point, add the user into Spark through the Cisco Spark Control Hub

